☑︎ This guide has been updated for 2026
So, you want to make a website.
Maybe it’s for your side project, your business, your freelance portfolio… or maybe you just want a piece of the internet that’s truly yours.
Either way — congrats! You’re already ahead of most people by asking the right question: how the heck do I actually start?
Here’s the good news:
⚡You DON’T need to know code.
⚡You DON’T need to hire a developer.
⚡And you definitely DON’T need to spend a fortune.
This guide will walk you through the process step-by-step, in plain human language — no jargon, no bloated tech speak, no “just install Nginx and modify your DNS zone file” nonsense.
In fact, by the time you’re done reading, you’ll know exactly:
- Whether you even need a full website in the first place (spoiler: sometimes you don’t!)
- Which path fits your needs best: Wix? WordPress? Framer? Something else entirely?
- What steps to take — and in what order — to go from zero to “it’s live!”
Let’s get started.
Step 0: Do You Even Need a Website?
Let’s be honest — in 2026, having a website isn’t always the default move anymore.
Depending on what you’re trying to do, a full-blown website might be overkill… or even a distraction.
So before you dive headfirst into domain names and drag-and-drop editors, let’s take a moment to ask the real question:
Do I actually need a website — or is there a faster, cheaper, smarter way to achieve the same goal?
Here’s a quick cheat sheet:
- Want a personal brand or professional presence online? A website is still king.
- Launching a new product or startup? A website is your control center.
- Freelancer or consultant? Clients expect to find you via Google.
- Running a brick-and-mortar business? A site helps with trust, bookings, and directions.
But sometimes…
Still unsure? Here’s a quick rule of thumb:
- If you care about owning your space (and not being at the mercy of a platform’s algorithm or terms), build a website.
- If speed, simplicity, or zero-maintenance is your top priority — start with a hosted solution or social platform, and upgrade later if needed.
Here’s the bottom line:
A website gives you maximum freedom, customization, and long-term flexibility. But it’s okay to start small elsewhere — and circle back when you’re ready to go full pro.
Assuming you’re still in the “I need a website” camp –
Next up: let’s figure out what type of website suits you best.
Step 1: Choose Your Website Path
Alright, so you’ve decided a website is worth building. Awesome.
Now comes the next big question:
What kind of website should I make — and how?
The answer depends on what you want your site to do, how much control you want, and how much time (or money) you’re willing to invest.
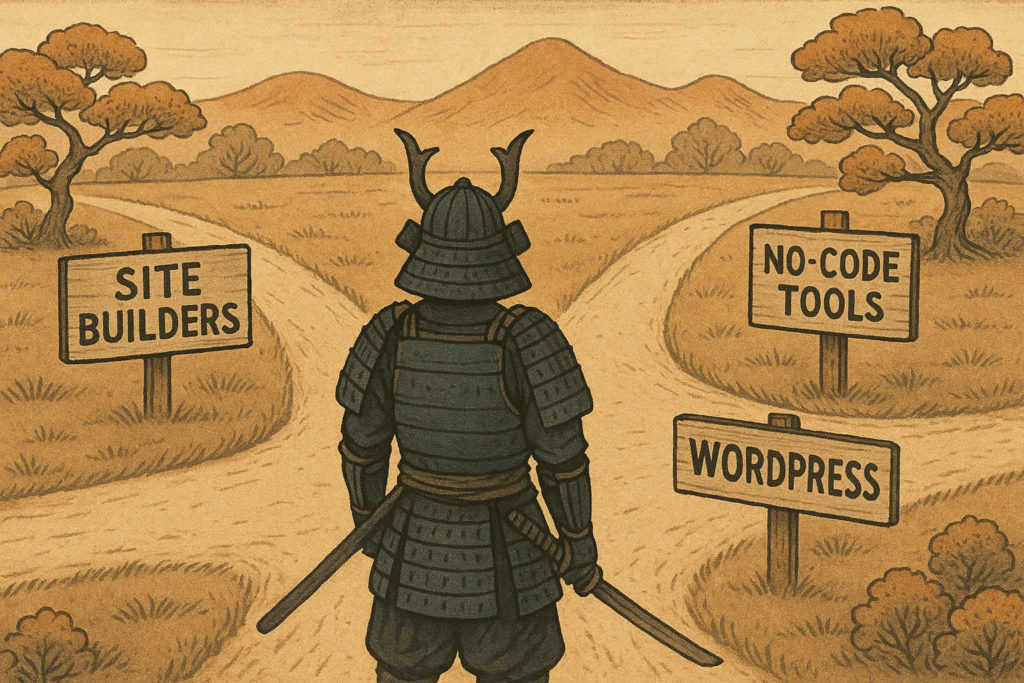
To make things easier, we’ve grouped all the popular methods into three big buckets:
- Website builders like Wix, Squarespace, or Weebly – perfect if you want something visual, fast, and low-maintenance.
- WordPress (self-hosted) – best if you want full flexibility, control over your data, and a giant ecosystem of themes, plugins, and tools.
- Modern no-code site builders like Framer, Typedream, or Carrd – great for landing pages, personal sites, and startup MVPs.
Let’s quickly compare them:
| Platform Type |
Ease of Use |
Design Control |
Cost |
Best For |
| Classic Website Builders |
⭐⭐⭐⭐⭐ |
⭐⭐⭐ |
$-$$ |
Portfolios, small biz, local shops |
| WordPress (self-hosted) |
⭐⭐ |
⭐⭐⭐⭐⭐ |
$ |
Blogs, scalable sites, SEO-heavy projects |
| No-Code Builders |
⭐⭐⭐⭐ |
⭐⭐⭐⭐ |
$ |
Startups, personal sites, quick MVPs |
Still not sure? Think of it this way:
- Want speed and simplicity? → Try a website builder (see our comparison here).
- Want long-term flexibility and SEO performance? → Go with WordPress.
- Want something that looks designer-grade out of the box? → Look at Framer or Typedream.
Next up: let’s break down each option so you can pick the one that fits your needs – no guesswork required.
Option A: Website Builders
If you want to get online fast — without touching a single line of code — website builders are your best friend.
These platforms handle everything for you: hosting, design, updates, and even domain connections. It’s all bundled into one nice, beginner-friendly package.
You just drag, drop, type, click “Publish” — and boom, you’re live.
Here are the top contenders worth considering:
- Wix – the most versatile builder out there. Tons of templates, powerful editor, and a massive app marketplace.
- Squarespace – known for beautiful templates and a more polished, minimalist vibe. Great for creatives and portfolios.
- Weebly – simple, solid, and very budget-friendly. Owned by Square, so built-in ecommerce is a plus.
So who are these tools perfect for?
- You want a site that looks good without hiring a designer
- You want to launch fast (like, same-day fast)
- You’d rather pay a few bucks a month than deal with updates, security, or hosting headaches
But there are also a few trade-offs to keep in mind:
- You’ll have less control over SEO, speed, and custom code (compared to WordPress)
- Switching platforms later isn’t always easy — migrating from a builder to another system can be a pain
- Some features are locked behind higher-tier plans (e.g. ecommerce, membership, analytics)
💡 Pro tip:
Most builders offer a free plan or a free trial — so you can test things out before committing. If you’re not sure which to choose, start with Wix or Squarespace — both are solid all-around options.
If you want to learn more about site builders and compare your options – head over to our dedicated analysis.
Next up: want more control and flexibility? Then you might be a WordPress person 🌞
Option B: WordPress (Self-Hosted)
If website builders are like renting a fully furnished apartment 🛋️ then self-hosted WordPress is like buying a plot of land and building exactly what you want on it 🏡
It takes a bit more setup — but the flexibility is unbeatable.
Over 40% of all websites online run on WordPress. That includes everything from personal blogs and portfolios to full-blown media empires and ecommerce stores.
So why is it still so popular?
- It’s 100% free and open-source (you only pay for hosting + domain)
- You can install any theme or plugin to change the design or add new features
- Great for SEO, speed optimization, blogging, and scaling
- You truly own and control everything — no platform rules or limitations
But there’s a flip side too:
- It’s not all-in-one — you’ll need to choose a hosting provider such as Hostinger (don’t worry, we’ll help)
- There’s definitely a learning curve, especially if it’s your first time building a site
- You’ll need to take care of updates, backups, and occasional maintenance (or install plugins to help)
That said, modern WordPress has gotten a lot friendlier — especially with tools like:
- Page builders like Elementor, Spectra, or Kadence Blocks (drag-and-drop without code)
- Starter themes that look good out of the box — like Astra, Neve, or Blocksy
- One-click installers from most hosts that set everything up for you
Overall, WordPress is 🏆 best for bloggers, creators, service-based businesses, agencies, and anyone who wants to grow their website over time – without running into platform limits.
Next up: want something even more minimal, stylish, or startup-y? Let’s look at modern no-code builders.
Option C: Modern No-Code Site Builders
If traditional builders feel too clunky — and WordPress feels like too much commitment — you might love the new wave of ultra-slick, no-code tools.
These platforms are built for speed, simplicity, and style — often used by indie makers, startups, and anyone who wants to launch fast with a polished vibe.
Think: the “cool startup website” look, but without hiring a designer or writing a single line of code.
Here are a few standouts:
- Framer – blazing-fast, designer-focused site builder with beautiful animations and responsive layouts out of the box.
- Typedream – like Notion, but for websites. Clean, minimal, dead-simple to use.
- Carrd – the MVP king. Ideal for personal pages, portfolios, and “link in bio” setups. Plans start at literally $9/year.
So why pick a no-code builder?
- They’re ultra-fast to set up – often ready in under an hour
- They feel modern — great design, responsive layouts, built-in animations
- They work especially well for one-pagers, landing pages, portfolios, or simple startup sites
A few caveats though:
- Not ideal for complex content sites, blogs, or custom backend features
- You’re somewhat limited to the visual style of the platform (especially with Typedream and Carrd)
- Some advanced features (like forms, analytics, custom scripts) may require upgrades or workarounds
💡 Pro tip:
No-code builders are also a great way to test ideas quickly — build a landing page, validate an offer, or create a one-pager for your project before investing in a full site.
Next up: you’ve picked your tool – now let’s plan what actually goes on your website.
Step 2: Structure and Plan Your Content
Before you start dragging widgets or choosing fonts, it helps to know what your website is actually going to say.
Think of this step as sketching the blueprint 📋 before building the house. The good news? You don’t need to overthink it. Let’s break it down:
🔹 Pages vs Posts
If you’re using WordPress (or anything blog-capable), you’ll see two content types: pages and posts.
Quick difference:
| Pages |
Posts |
| Static content (About, Contact, Services) |
Time-stamped articles or updates |
| Usually part of your main site structure |
Usually shown in a blog or newsfeed |
| Organized via menus |
Organized via categories and tags |
💡 Think of “pages” as the permanent stuff, and “posts” as things you publish over time (like updates, tutorials, or case studies).
🔹 Must-Have Pages for Most Sites
Here’s a classic starter structure for a small site:
- Homepage – who you are, what you do, and how you can help
- About – your story, values, team, or background
- Services / Work / Products – what you offer, with links or pricing
- Contact – how people can reach you (form + email + maybe links)
- (Optional) Blog – if you plan to share updates or articles
You don’t need to write everything now — just create a quick outline for each page. A bullet list is enough.
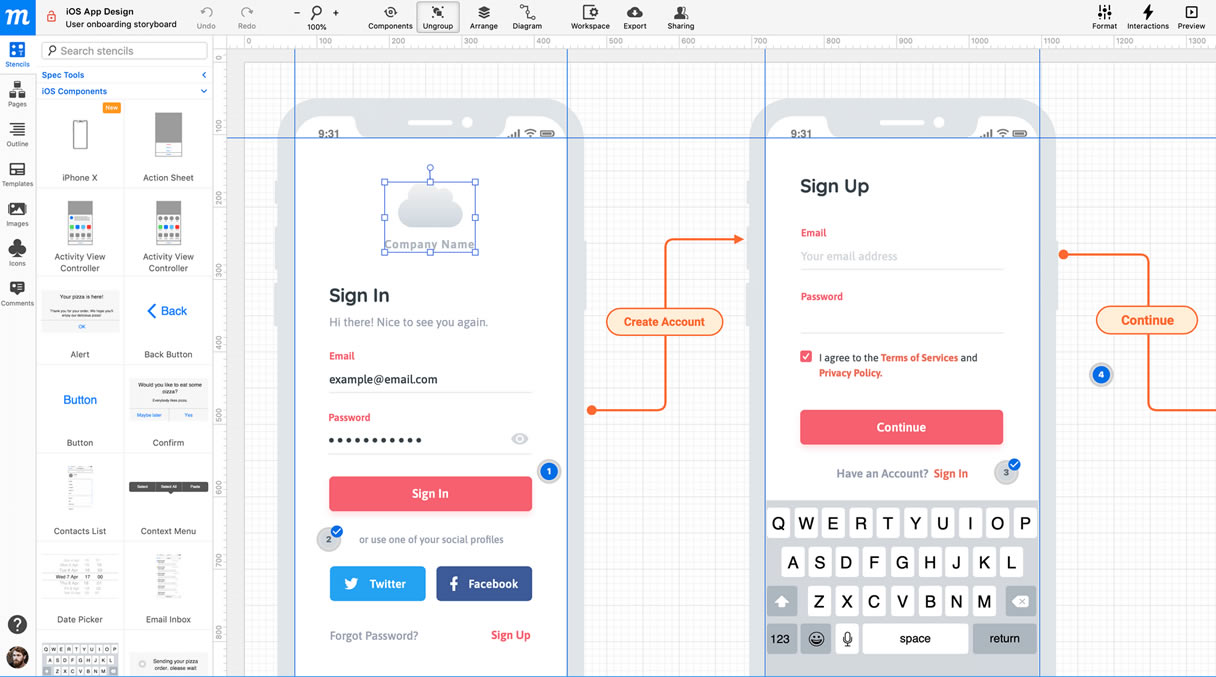
🔹 Pro Tip: Map It Out
Grab a pencil and draw your ideal site on a piece of paper — boxes for pages, arrows for links.
Yes, seriously.
Even in 2026.
You’ll be surprised how much clarity it brings.
Or use free tools like Figma (for wireframes) and Octopus.do (for quick sitemaps).
Once you’ve 🗺️ mapped out what goes where, you’re ready to start designing.
So up next: let’s talk logos, fonts, and the fun stuff — without spending weeks pixel-pushing.
Step 3: Design and Branding
Here’s where your website starts to look like… well, you.
But don’t worry — we’re not going to lecture you on color theory or make you choose between 92 fonts.
This is about getting a clean, cohesive look without going down a 4-hour Pinterest rabbit hole.
Let’s hit the essentials:
🔹 Logo (or Just a Name)
If you already have a logo – great, upload it and move on.
If not? Don’t sweat it. You don’t need a perfect brand mark to launch.
Instead:
- Use your business or personal name spelled in a clean font that matches your project’s vibe — and call it a day.
- Or generate a simple logo using tools like:
- Looka – simple AI-generated logo designs
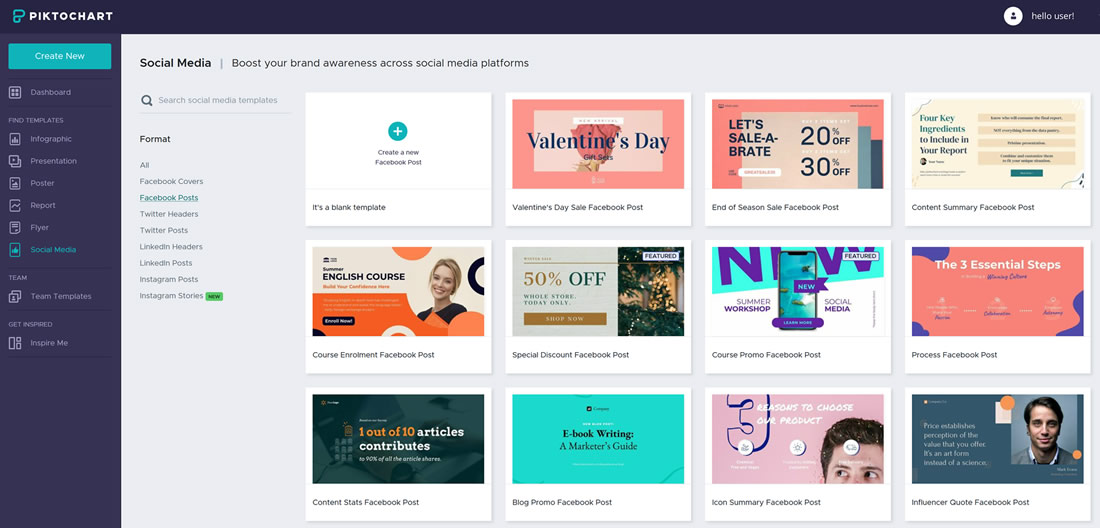
- Canva – drag-and-drop logo templates (free tier works fine)
- Hatchful – quick and easy branding sets
🔹 Fonts and Colors
Pick 1–2 fonts max. One for headlines, one for body text. Good pairings = simple and readable. Try these (all free options by Google Fonts):
- Heading: Montserrat / Raleway / Playfair Display
- Body: Open Sans / Lato / Inter / Roboto
Need help picking a palette? Use:
Keep it simple: one main color, one neutral (gray/black/white), and one accent if needed.
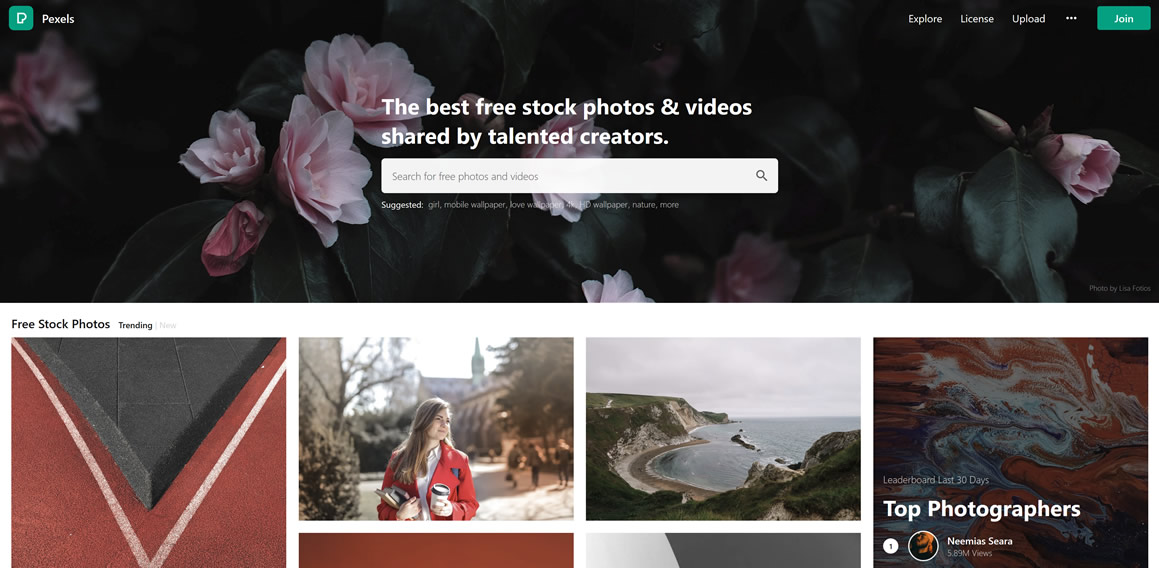
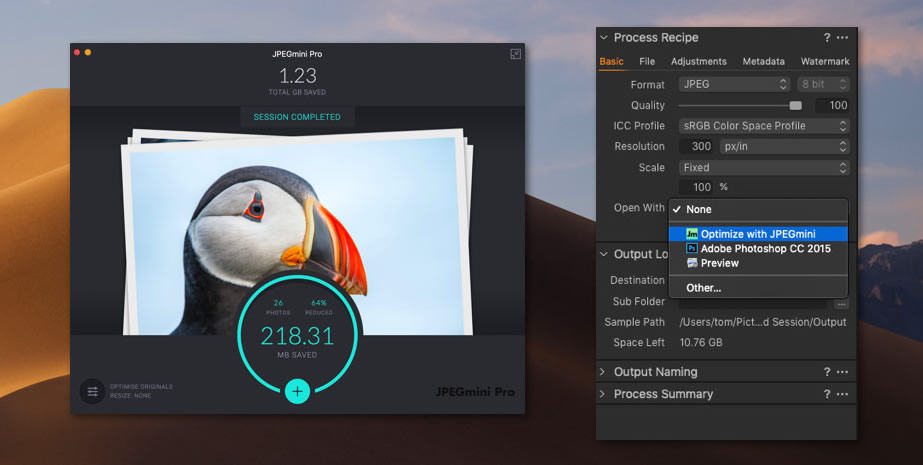
🔹 Images and Visuals
It’s 2026, so skip the cheesy stock photos. Use high-quality visuals that actually reflect your project’s essence:
And yes — Canva works for all of the above if you want to create headers, mockups, or social previews.
🔹 Layout and Spacing
If your site looks “off,” it’s usually spacing. Use more padding than you think: don’t cram too much into one screen. Let your content breathe 😮💨
White space is your friend. So are grids. Most themes and builders already use them — just don’t break them unless you know what you’re doing.
Once you’ve got your fonts, colors, and layout dialed in — you’re finally ready to hit publish.
Up next: let’s launch this thing — and hook it up to the rest of the internet.
Step 4: Publish, Connect, Promote
Fantastic — your content is in, your design looks good, and you’re seconds away from showing your new website to the world ✨
Here’s what to do next to actually launch and make your site findable (by humans, Google, AI – the whole lot).
🔹 Hook Up a Custom Domain
No one wants to type something like yourname.weebly.com or brandname.framer.website
Get a real domain like yourdomain.com — it’s cheap, it’s easy, and it instantly makes you look more legit.
You can:
- Buy a domain via your site builder (Wix, Squarespace, etc. offer this directly)
- Or use a registrar like Namecheap and connect it manually
💡 Try to get .com if available, but other extensions like .co, .io, or .site are also great (and often less crowded). You can also use your country domain if your project is strictily local.
🔹 Add Basic SEO Info
Search Engine Optimization (SEO) sounds scary and daunting — but the basics are simple.
Just make sure every page has:
- A unique title (this shows up in browser tabs and Google search)
- A short description (helps people know what your page is about)
- Readable URLs (e.g.
/contact instead of /page?id=43721)
If you’re using WordPress, install a plugin like All-in-One SEO or Rank Math. Most builders also have built-in SEO fields — use them!
🔹 Submit to Google
To make sure Google knows your website exists, do this:
- Go to the Google Search Console and add your new website’s domain.
- Verify domain ownership by adding a domain record in your domain provider’s dashboard (Google offers super detailed instructions on how to do that).
- Submit your sitemap in the console – most platforms generate one automatically, and Google will eventually find it, but it will make things much faster if you point it where to look :)
This simple setup speeds up your appearance in search results — and lets you monitor traffic over time.
🔹 Set Up Analytics
If you want to know how many people visit your site and what they do (and you should!) – install some analytics.
There are multiple options available, starting with the status-quo Google platform, all the way to privacy-first alternatives:
Most tools just require a single code snippet. If you’re using WordPress, install a plugin — if you’re using a builder, look for a “Tracking” or “Analytics” section in the settings.
🔹 Share It
Your site is live — don’t just let it sit there! Share it:
- Add the link to your social media bios
- Include it in your email signature
- Mention it on your LinkedIn or Twitter/X
- Tell your clients, audience, and friends
If you’re planning to blog or sell stuff, this is also a good time to think about email newsletters and marketing tools — check out our Webmaster Academy for detailed guides.
Next up: if you’re still unsure whether a full website is right for you, or want faster alternatives — we’ve got options for that too.
Still Not Sure? Consider These Alternatives
Let’s say you’ve read this far but still feel unsure. Maybe building a full website feels like too much right now — or maybe you just need a lightweight online presence ASAP.
You’re not alone — and the good news is, there are solid alternatives that can get the job done with minimal effort.
Here are a few to consider:
- Instagram – perfect for visual creatives, artists, photographers, makers. Use it as your portfolio and contact hub.
- Linktree / Beacons / Carrd – great for quick “link in bio” landing pages. Add your links, a short bio, and you’re set.
- Medium / Substack – want to write but don’t want to build a site? These platforms handle everything — you just focus on the words.
- Gumroad / Lemon Squeezy – if all you need is a simple storefront to sell a digital product, you don’t need a full website at all.
- Typedream / Framer – ultra-fast and modern one-pagers for landing pages, MVPs, or personal projects.
💡 Start where it’s easiest. You can always upgrade to a full website later — and when you do, many platforms even let you redirect or integrate with what you already built.
Owning a website is powerful — but starting small is often the smartest way to go. What matters most is that you have something online that speaks for you when you’re not in the room.
Next up: still have questions? Let’s cover the most common ones before we wrap.
FAQ: Website Creation in 2026
Have questions? You’re not alone. Here are the most common ones we get — along with a few myths that need to be put to rest 👇
🙋🏽♀️ Do I need to know how to code to build a website?
Absolutely not. In fact, if you’re coding your site from scratch in 2026, you’re either a developer, a masochist, or both. Builders like Wix, WordPress, and Framer let you create beautiful sites without touching a single line of HTML.
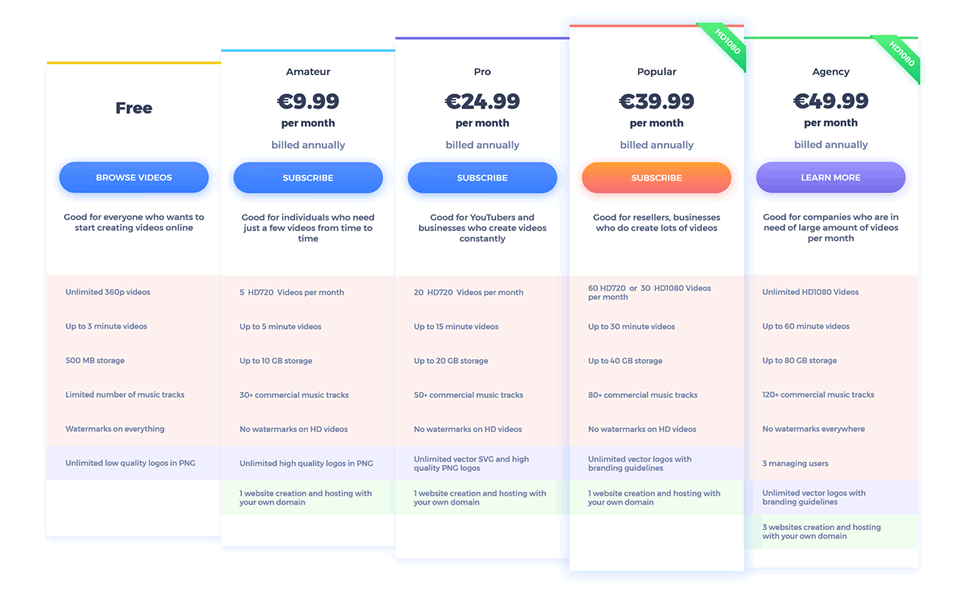
🙋🏻♂️ How much does a website cost?
You can get a basic site up and running for under $50/year if you use WordPress with budget hosting. Builders like Wix or Squarespace usually start around $10–20/month. Premium features, domains, and email tools might cost extra — but there’s something for every budget.
🙋🏿♂️ Can I build a website for free?
Technically, yes — but it often comes with trade-offs: ads, branding, and no custom domain. It’s fine for testing or prototypes, but not great if you care about first impressions. Spend the $10/year on a domain — it’s worth it.
🙋🏽 Will having a website help me rank on Google?
Only if it’s set up properly — with useful content, clean structure, and some basic SEO. Google won’t magically love you just because you exist. That said, without your own site you’ll never show up in search at all.
🙋🏾♀️ Is WordPress still relevant in 2026?
Very much so. It powers over 40% of all websites online. Yes, there are trendier tools, but WordPress is still the best choice if you want flexibility, content-heavy architecture, or advanced features — without paying platform fees.
🙋♀️ Can I switch platforms later?
Kind of. You can always rebuild your site elsewhere, but migrating content and design isn’t always smooth — especially with closed builders like Wix or Squarespace. If you think you’ll outgrow your current tool, go with WordPress or a portable builder like Framer.
🙋 Isn’t “just having social media” enough?
Sometimes, yes — especially early on. But a website is the one place online where you make the rules. No algorithms, no ads, no shadowbans. It’s your digital home base.
🙋🏾♀️ I saw someone say a website takes weeks to build…
Only if you’re making the next Airbnb. For most people, your first website can be built in a few hours. Don’t let perfectionism slow you down — it’s better to launch something simple and improve it later.
Over to You
Congratulations, you made it! 🎉
We’ve covered a lot — from deciding if you even need a website, to picking the right tool, structuring your content, designing it, launching it, and exploring alternatives.
Now comes the fun part: putting it into action.
Remember, your first website doesn’t need to be ideal. It just needs to exist. Done is better than perfect — especially when perfect never ships.
Whether you end up using WordPress, Wix, Framer, or something else entirely, the most important step is the one you take today.
If this guide helped you out — or you’ve got a question, comment, or a 🌶️ spicy opinion — scroll down to the comments section and drop me a line. We do read them.
And if you found this useful, feel free to share it with a friend or fellow builder.
See you on the internet 👋